
There are more ways to make a ray gun than there are ray guns, but here's how we made mine, and some tips for getting started.
First, you'll need some raw materials to work with:
 Every time we're in a thrift store, I pick up the $1 brass candlesticks. When I come home I disassemble them (almost all unscrew into three or more pieces) and throw them in my junk box. The same goes for any interesting metal construction leftovers, wire, nuts and bolts, etc.
Many people make their ray guns completely from metal, but I like the color and interest of adding glass. If you do, too, start collecting small glass bottles from home decor stores:
 These were the pieces to a gun we later had to discard, because the bottle shattered during cutting. (Drat.) If completed, it would have looked a lot like John's red gun:
 (You can see the finished piece here.)
Once you have your raw materials, start playing. Start with a bottle or large metal piece for the body, and then add various candle cups, plates, etc. to the front and back 'til you see a gun shape emerge:
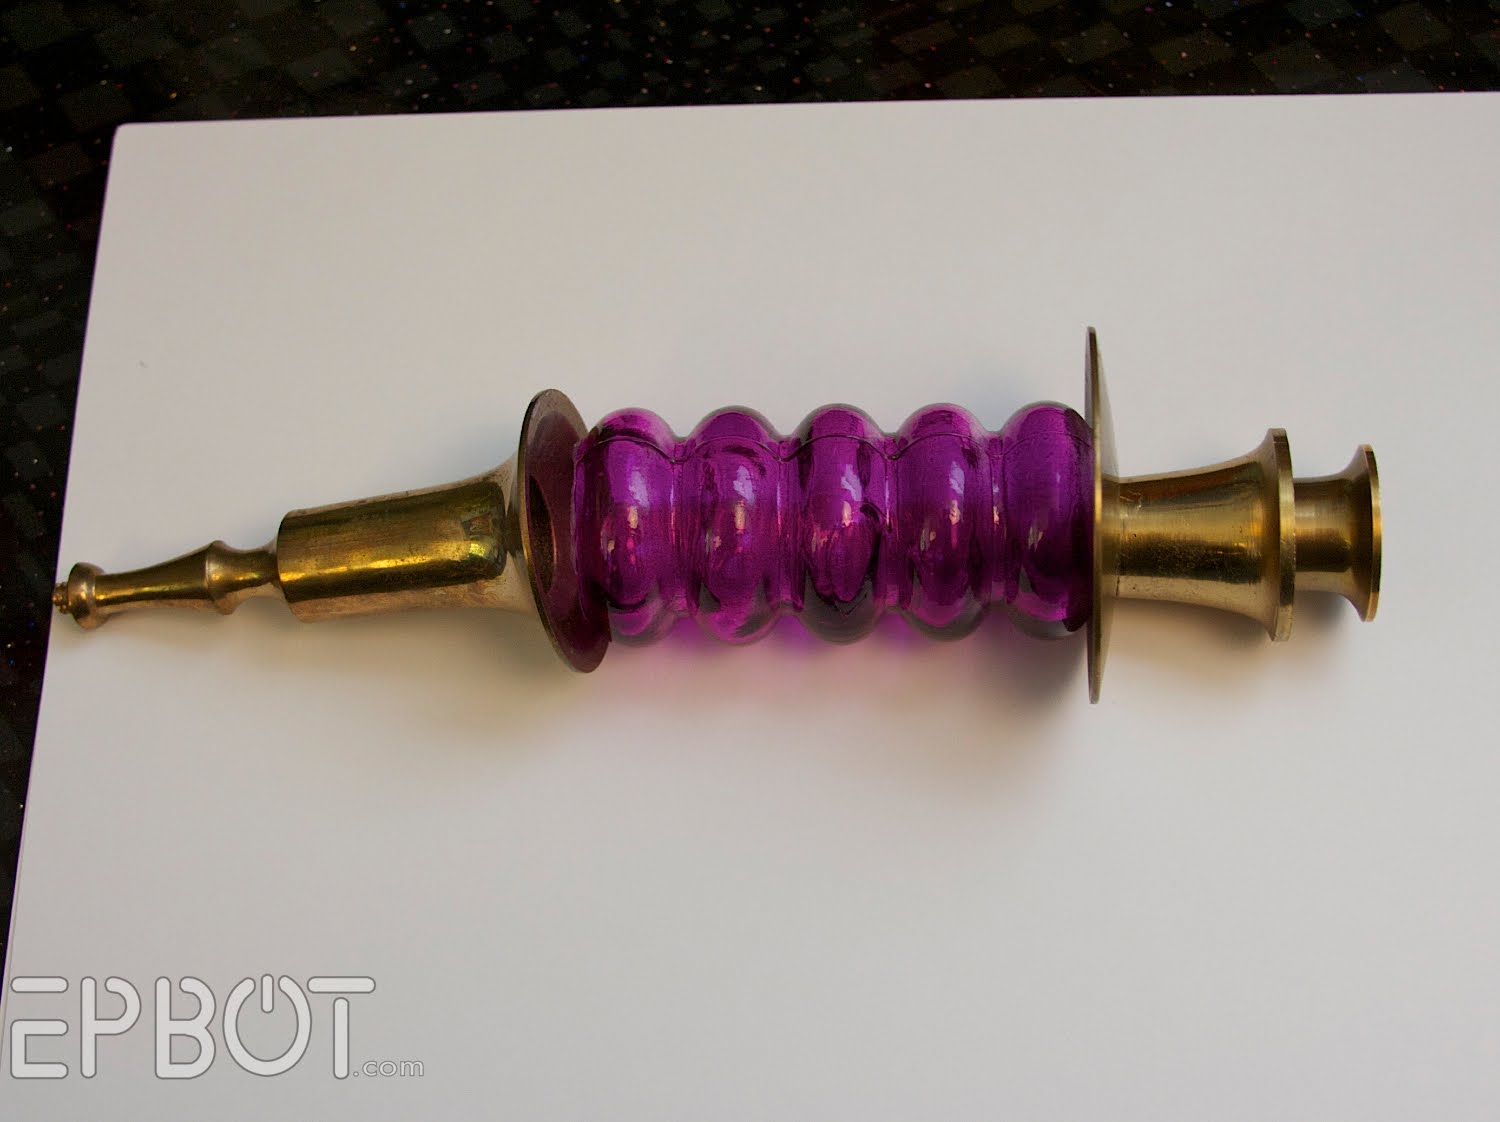 I usually like the back end of the gun to be larger, and then taper to a point on the front. Search around for inspiration online, though, and see what styles you like.
I should note that you'll probably need to cut the bottle neck off for your design. For my first few I scored deeply all the way around the bottle with a grinding blade on a hacksaw, and then banged the bottle neck on the work bench to knock it off. It's not a pretty edge when you do it that way, but it gets the job done.
For later attempts John used the Dremel with a grinding blade to cut the bottles, which is much better, because then John's doing it. :D Be careful and go slow; bottles like these are cheap glass and break easily if you try to rush it.
To keep all the gun pieces together, we use a threaded metal rod. Many candlesticks have one inside, but if not you can find the rods at a hardware store. The beauty of candlesticks is that their pieces are all interchangeable: they use the same thread size. This lets you mix and match bits and still fit them all to the same rod.
That said, for the front piece of my gun we had to epoxy a nut inside the candle cup, to give the rod something to screw into:
 Looking down into the candle cup.
Use steel epoxy putty for this, to stick to the metal. Screw the nut (or two, for added security) onto your rod, fill the candle cup with epoxy putty, and then jam the rod and nuts into the epoxy. (Make sure your angles are straight!) Tamp the putty down around the edges with a screwdriver, unscrew the rod, and let it cure.
Here's my ray gun body assembled:

Once your main body is figured out, lay it on a piece of paper and start sketching your handle. Again, look at pictures online for inspiration.
To get the proper curves and angles along the glass, we used this nifty tool called a contour gauge:
 This model costs about $16, but I found another on Amazon for less than $7
Which gave us this:
 Aren't power tools AWESOME?
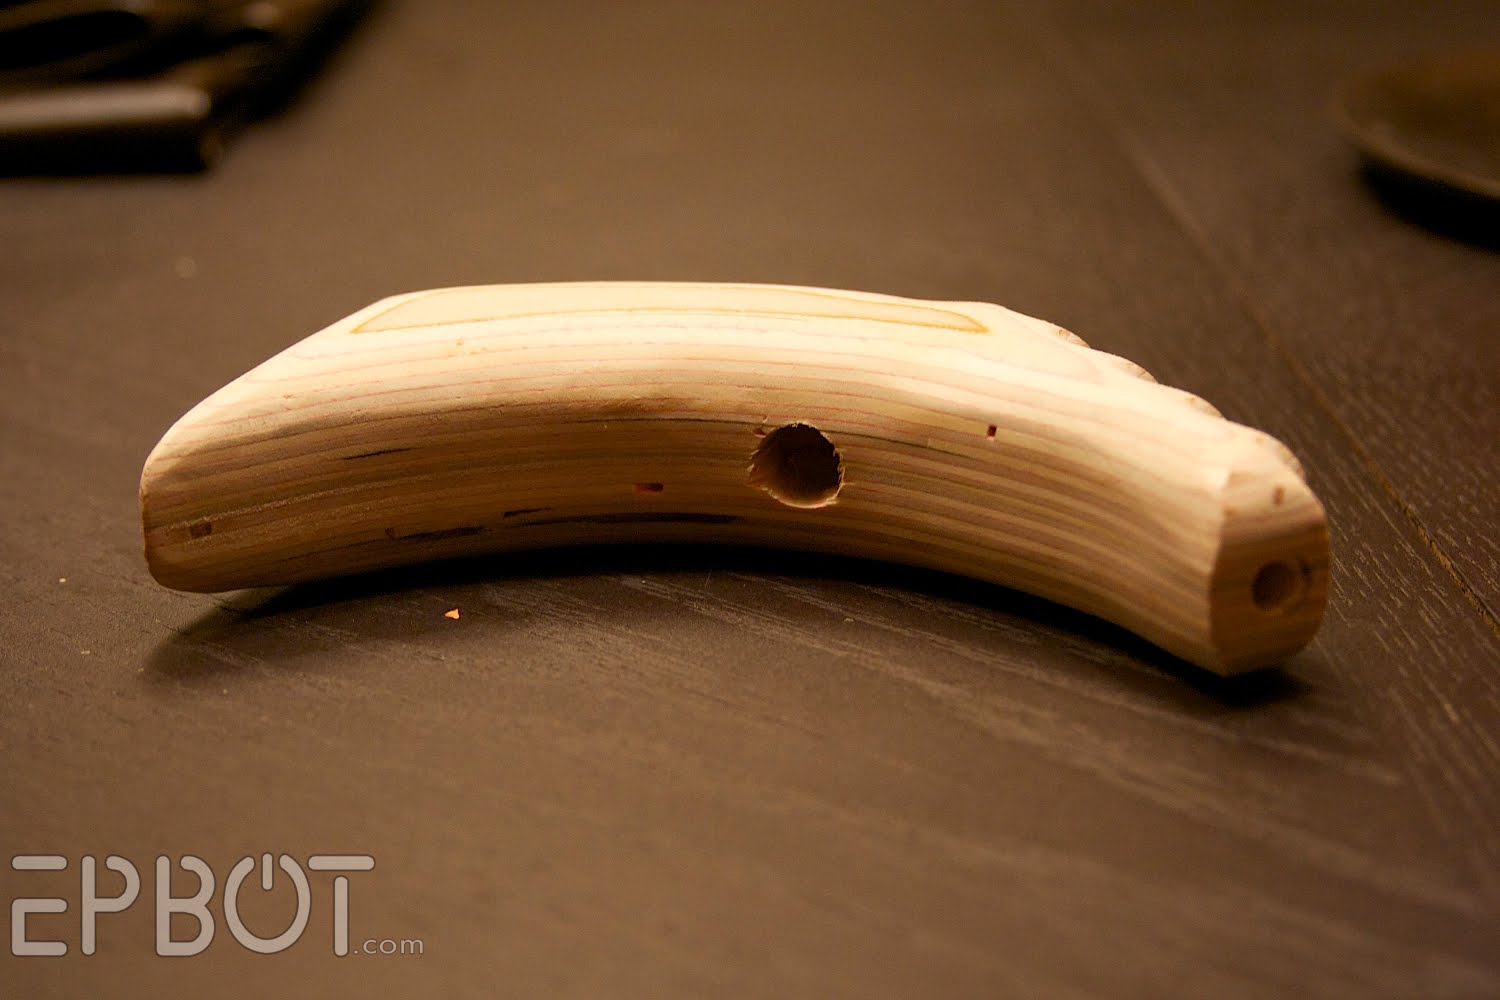 This looks like a wooden banana, but it's actually the underside of the handle. The larger hole is where the trigger button will go, and the smaller hole is for the wires to feed through. Both holes connect with each other inside.
Now, to wire your lights, you will need:
 - Small batteries (we used three watch batteries, stacked, to get the voltage we needed)
- thin gauge wire
- electrical tape
- a switch (the small black button next to the tape)
- LEDs (we used two clear ones.)
- and finally (scary stuff alert): a soldering iron and solder - or you could try that nifty new conductible adhesive I've heard about. [Here's a link
This is a relatively easy set-up (said the person who didn't do it): you need to connect your batteries to the LEDs with your wire, with your switch in-between the batteries and LEDs on one side.
 That's a different switch than we used for the guns, but this is just to show you the basic setup. The wire we used has both negative & positive side-by-side, but you can also use separate red and black wires.
Now, this is extremely low voltage stuff we're talking, so you can hold the bare wires on the batteries with your fingers and not feel a thing - except a little heat after a few seconds. So go ahead and play around with your LEDs and batteries:
 Make sure your batteries add up to the correct amount of voltage for your LED. So if your LED is a 3 volt, you'll need two 1.5 volt button cell batteries. If you use too high of a voltage on your battery - like a 9 volt - you'll blow out the LED, destroying it. Too little, and it just won't light up as brightly (or possibly at all.)
To add the switch, carefully separate your two wires and cut one of them (it doesn't matter which) in the middle:
 You'll be soldering the two wires to your LED on the end and to the two contacts on the switch in the middle. Your batteries, however, you can just tape in place with electrical tape. (Sandwich the batteries between the two wires.)
We didn't solder this bit because it's only an example, but again, you'll want to solder (or use that conductible glue) the LED to your wires:
 Once this is done, you can see that the light turns on with your switch:
And goes off when the switch is off:
 Ta da!
The LEDs go in the bottle, and the batteries can go either in your handle or the brass candle cups of your gun body - wherever they'll fit and won't be seen.
We used three button cell batteries, so they would only fit in the front of the gun. We then had to add a small copper pipe from the handle to the brass cup for the wire to feed through:
 This actually ended up being one of my favorite features on the gun; I love the copper with the fuchsia glass. We added more copper by wrapping heavy gauge copper wire around the bottle, securing it with brass screws:Those wires also hold the entire gun body to the handle; the only bit of glue used on the entire gun is under the decorative screw head on the grip.
As a final finishing touch, we filled the bottle with clear craft beads to help reflect and diffuse the light of the LEDs. It gives it a neat, icy look when the gun isn't lit, and also neatly hides the threaded rod and LEDs peeking out on the edges.
And finally, here's a quick vid of the gun in action:
Next time, we add "pew pew!" sound effects. :D
I hope this helps inspire some of you to make your own ray guns, and if so, please be sure to send me pictures!
No comments:
Post a Comment